From Gaming Models to Real-World Projects: My Journey with the Creality Ender 3 V3 SE

In 2024, I took the plunge and upgraded my 3D printing setup with the Creality Ender 3 V3 SE—and I couldn’t be more impressed. As someone who began creating 3D models for video games, I always dreamed of bringing my digital creations into the physical world. That dream quickly expanded into practical projects, from car parts to motorcycle components. Here’s my detailed account of that journey.
The Early Days: From Video Games to Practical Creations
My passion for 3D modeling began with designing assets for the video games I developed. These models were purely digital until I discovered the world of 3D printing. I started by creating custom parts for my cars, bikes, and motorcycles, envisioning tangible improvements and personalized modifications.
Lessons from the Past: The XYZPrinting Da Vinci Mini
Before discovering Creality, I owned an XYZPrinting Da Vinci Mini WiFi. While it served as a decent introduction to 3D printing, it came with its limitations:
- Chipped Filaments Only: The printer required proprietary filaments with chips, locking you into a specific brand.
- Inconsistent Print Quality: Some models—possibly due to settings, the filament quality, or inherent printer limitations—didn’t print as well as expected.
After a few years of these frustrations, I knew it was time for an upgrade.
Enter the Creality Ender 3 V3 SE: A Game-Changer in 3D Printing
Switching to the Creality Ender 3 V3 SE has been nothing short of a revelation. This printer offers:
- Simplicity of Use: Its intuitive setup and user-friendly interface made transitioning from my old printer a breeze.
- High-Quality Prints: I’ve been particularly impressed with the quality of prints using PETG filament.
The Ender 3 V3 SE not only meets my expectations but exceeds them, providing reliable and precise prints even for my most detailed projects.
First Impressions: Rockshox Volume Tokens and Spacers
One of the first projects I tackled was printing Rockshox volume tokens/spacers. These parts, complete with the brand stamped on them, turned out perfect:
- Readable Branding: The stamped logo was crystal clear.
- Precision Threads: Even the threads were printed with impeccable accuracy.
This success boosted my confidence in using the Ender 3 V3 SE for more demanding applications.
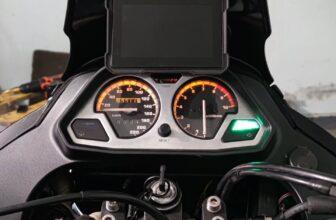
Bringing a Project Bike to Life: Yamaha XTZ750 Super Tenere Upgrades
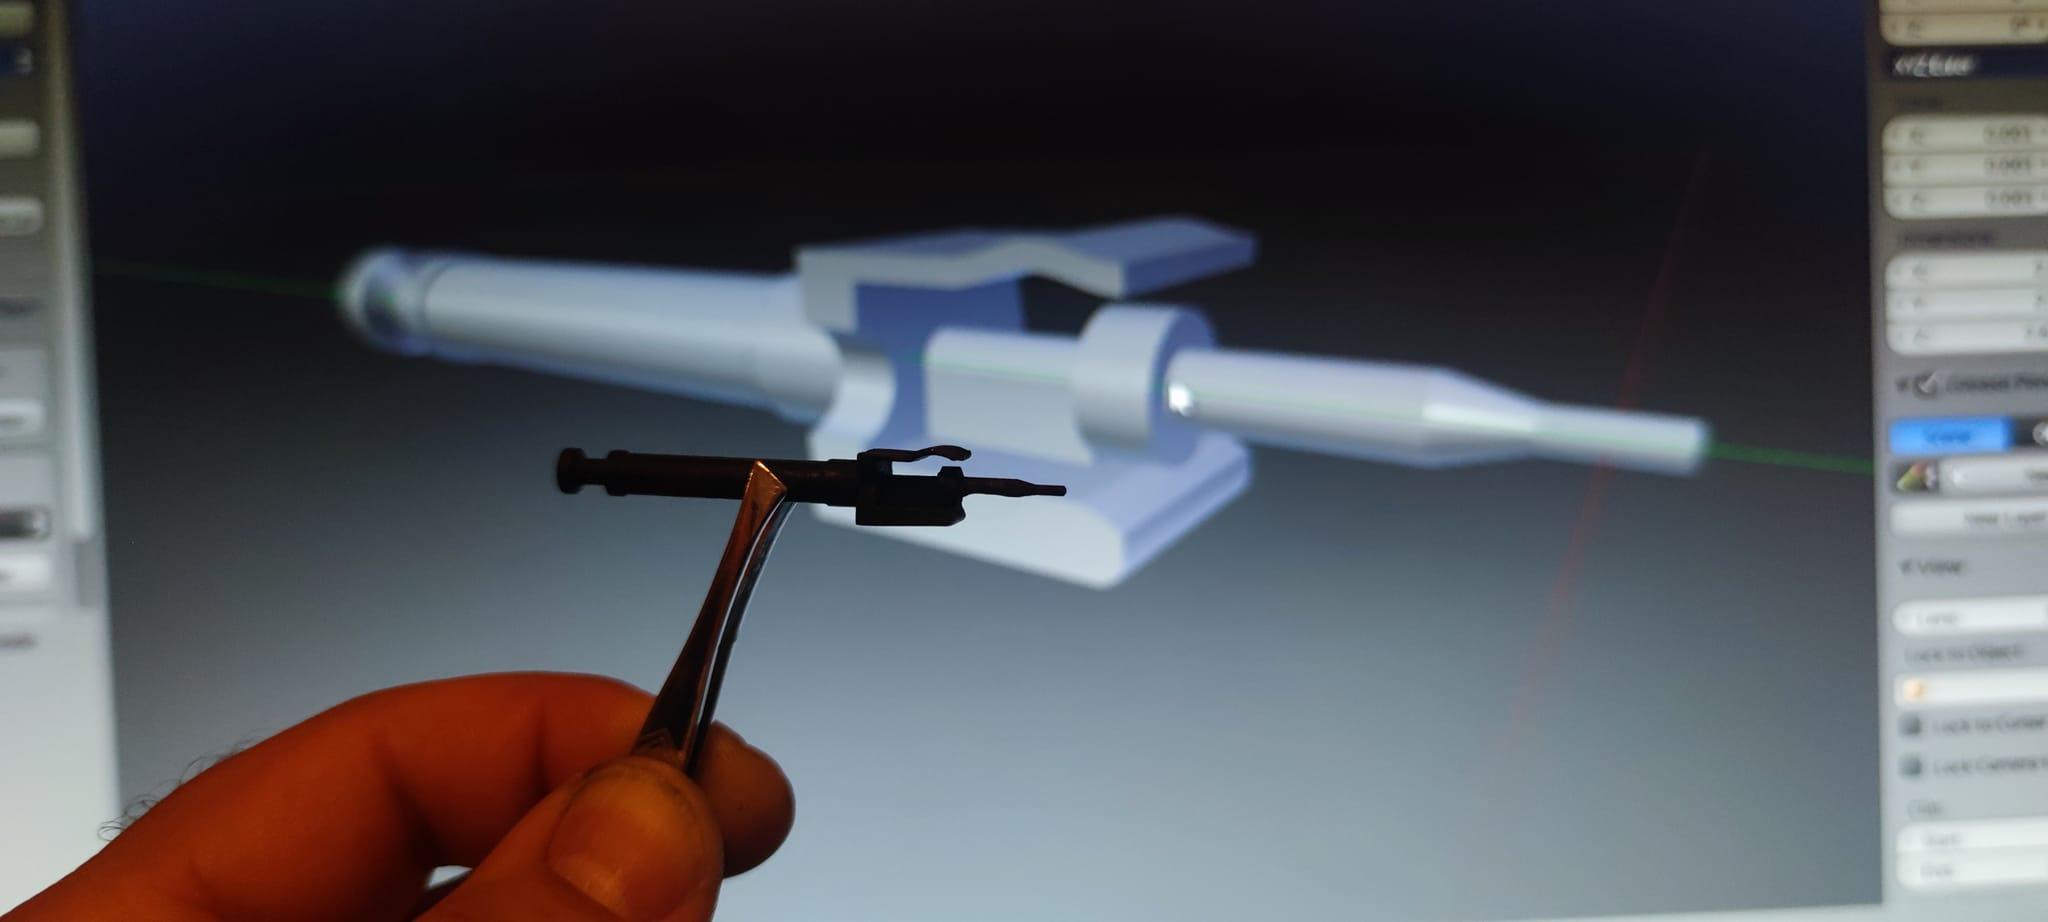
Fast forward a few months, and my creative projects expanded into the realm of motorcycles. I acquired a Yamaha XTZ750 Super Tenere as a project bike and soon encountered a common issue: the carburetors needed new plastic choke pistons—a part I couldn’t easily source in Bulgaria.
Instead of paying exorbitant prices for imported parts, I decided to design and 3D print the exact same pistons. The 3D model of the piston I created is now available for sale on my site, offering an affordable alternative for fellow enthusiasts.
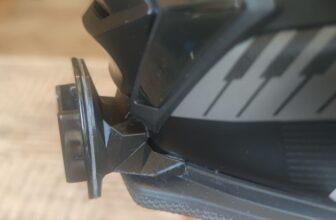
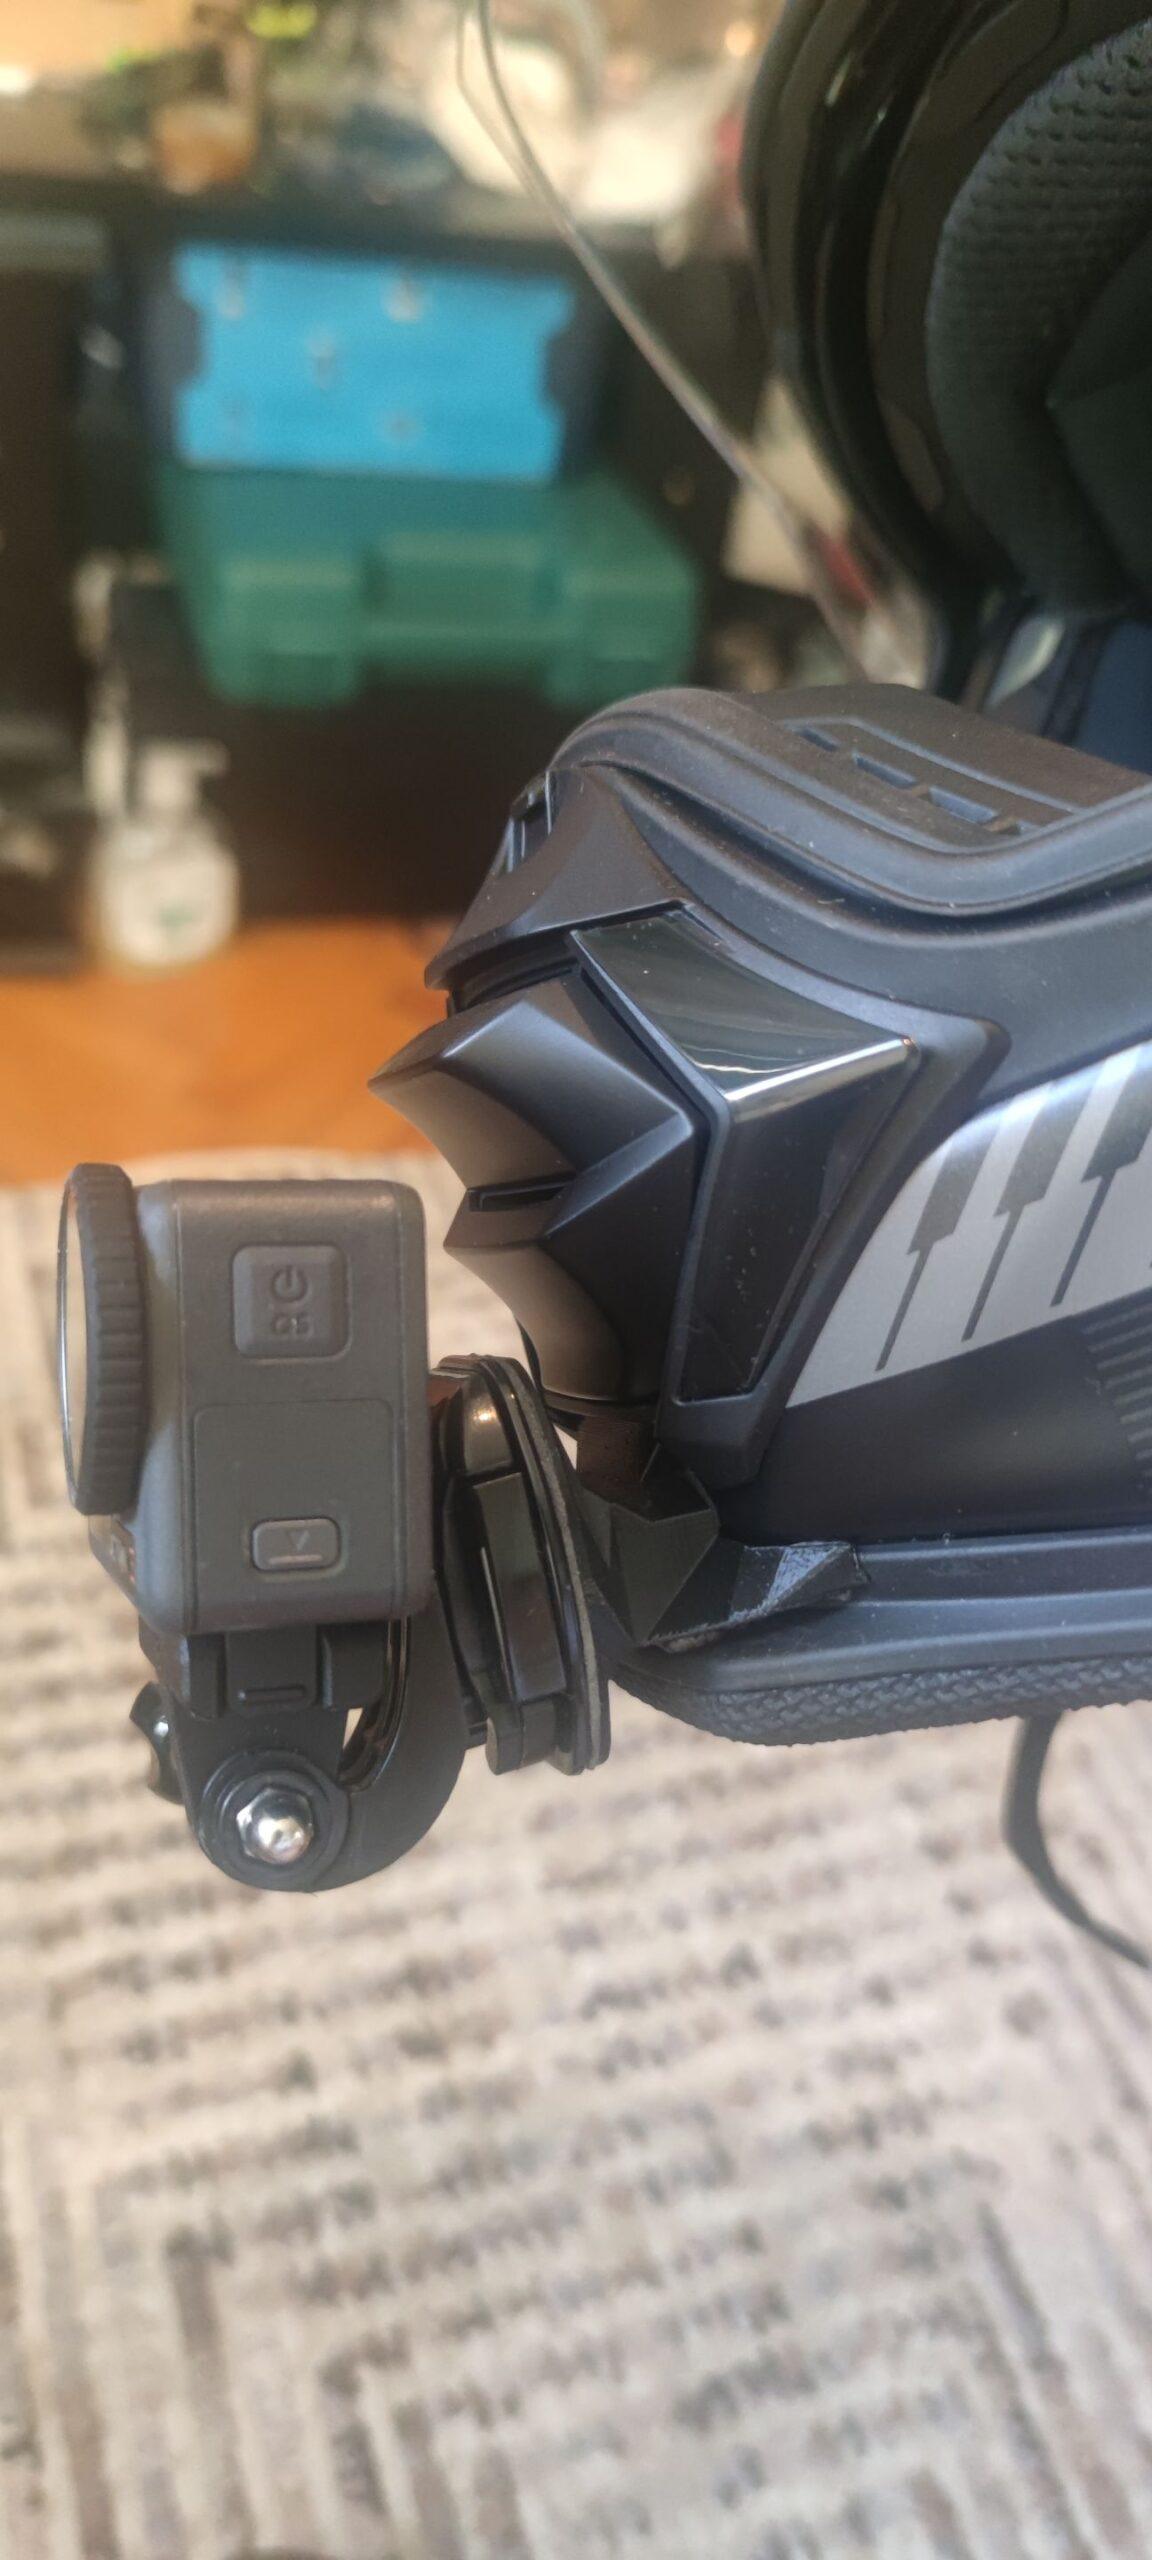
Additional Innovations: A Custom Helmet Action Camera Stand
Not stopping there, I recently tackled another project—a custom stand for mounting an action camera on a motorcycle helmet. The design was meticulously crafted, ensuring that the stand is robust and fits perfectly. This project further highlights the versatility of the Ender 3 V3 SE in addressing a wide range of creative needs.
Where to Buy PETG Filament
For those looking to upgrade their 3D printing materials, I highly recommend investing in quality PETG filament. It offers durability, excellent print quality, and is perfect for a variety of projects.
Final Thoughts
My journey with the Creality Ender 3 V3 SE has been transformative. From printing detailed game models to creating custom parts for my vehicles, this printer has opened up endless possibilities. Its ease of use, coupled with the superior quality of prints—especially using PETG filament—has made it an indispensable tool in my creative arsenal.
Whether you’re a hobbyist just starting out or a seasoned maker looking to expand your capabilities, I wholeheartedly recommend the Creality Ender 3 V3 SE. It’s not just a printer; it’s a gateway to bringing your ideas to life.